Building a drone camera from scratch is an exciting project that combines engineering, electronics, and photography. You are creating a drone for aerial photography, videography, or surveillance. You can selecting the right components and assembling them correctly is important for best performance. From choosing the right frame and motors to integrating a high-quality camera and flight controller, every step plays an important role in making sure stability, efficiency, and smooth footage. In this guide, we’ll walk you through the important steps and key considerations for building a drone camera that meets your specific needs.
Step 1: Research and Planning

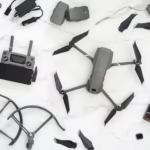
- Understand the Components: A typical drone requires a frame, motors, propellers, an ESC (Electronic Speed Controller), a flight controller, a power distribution board, a battery, a transmitter and receiver, and a camera system.
- Choose the Drone Type: Decide on a quadcopter (four motors) or another configuration like a hexacopter.
- Set Your Goals: Determine the payload capacity for the camera and the desired flight time.
Step 2: Gather Components
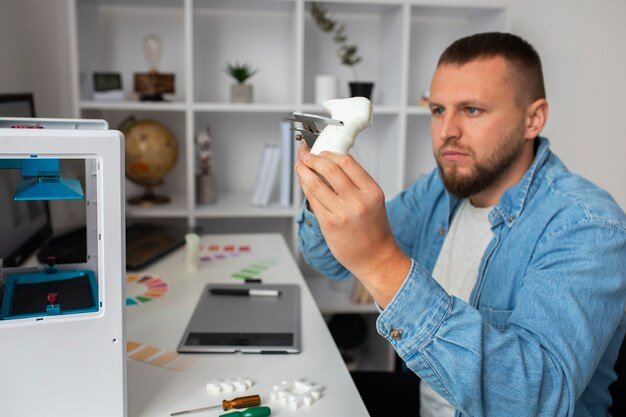
- Drone Frame: Choose a lightweight and durable material like carbon fiber or aluminum. You can buy pre-built frames or design one using CAD software and 3D print or CNC machine it.
- Example: Pre-made frames like DJI F450 or DIY options.
- Motors: Brushless motors are ideal for drones. Match motor specs (KV rating) to your drone size and weight.
- Propellers: Choose based on motor size. Ensure they balance thrust and efficiency.
- Electronic Speed Controllers (ESCs): Match the ESC amperage to the motors.
- Flight Controller: Essential for stabilizing and controlling the drone. Examples include Betaflight, Pixhawk, or DJI Naza.
- Power Distribution Board (PDB): Distributes power from the battery to the ESCs and other components.
- Battery: Use a LiPo battery (e.g., 3S or 4S) with sufficient capacity for your desired flight time.
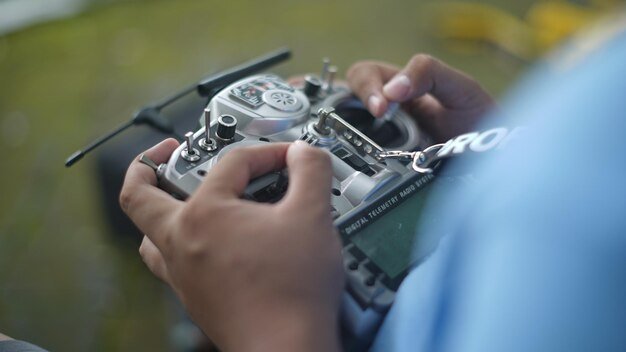
- Transmitter and Receiver: For controlling the drone remotely. Examples include FlySky or FrSky systems.
- Camera System: A lightweight camera like GoPro, Runcam, or a custom FPV camera.
- Miscellaneous: Wiring, connectors, screws, vibration dampeners, and tools (soldering iron, screwdriver, etc.).
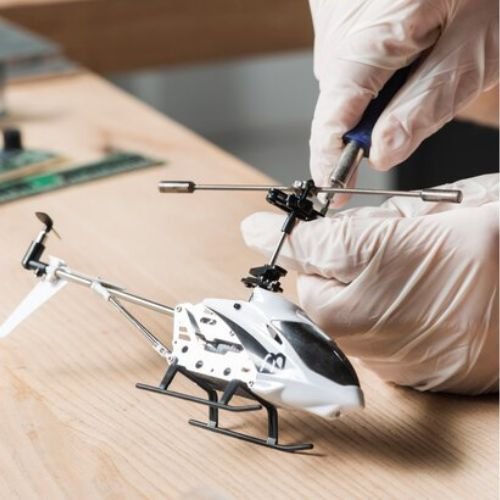
Step 3: Assemble the Drone
- Attach the Motors: Secure motors to the frame using screws and add propellers (do not tighten yet).
- Install the Power Distribution Board: Place it in the center of the frame.
- Connect ESCs to Motors: Solder or connect wires from the ESCs to the motors.
- Mount the Flight Controller: Place it on the frame using vibration-dampening pads to reduce interference.
- Wire the Components: Connect ESCs, flight controller, and battery to the PDB. Ensure correct polarity and secure all connections with heat shrink tubing or insulation tape.
- Install the Camera: Mount the camera using a gimbal or bracket to minimize vibrations. Connect it to a power source and a video transmitter for FPV functionality if needed.
- Attach the Landing Gear: Use lightweight materials to protect the camera during landings.
Step 4: Program the Flight Controller
- Connect the flight controller to your PC using software like Beta flight or Mission Planner.
- Configure parameters such as motor spin direction, flight modes, and receiver settings.
- Calibrate the accelerometer and gyroscope.
Step 5: Test the Drone
- Check Connections: Double-check all electrical connections and tighten screws.
- Perform Ground Tests: Power up the drone without propellers and check motor spinning directions.
- Add Propellers: Install propellers, ensuring correct orientation (clockwise and counterclockwise).
- Test Flight: Perform a test flight in a safe, open area.
Step 6: Add Advanced Features
- GPS Module: For autonomous flying and return-to-home functionality.
- FPV System: For live video streaming to a monitor or goggles.
- Advanced Gimbal: For stabilized and cinematic camera shots.
Helpful Resources
- Drone Dojo – Tutorials and guides.
- Oscar Liang – Detailed technical resources.
- Instructables Drone Projects – Community-driven DIY builds.
Tips and Considerations
- Safety: Always follow safety precautions, especially when testing.
- Weight Balance: Ensure the weight is evenly distributed.
- Regulations: Adhere to local drone flight laws and register your drone if required.
- Upgrades: You can later add features like obstacle avoidance or extended-range transmitters.